29 Sep 2022

- By Admin
- 0 Comments
- 29 Sep 2022
The Ultimate Guide to DIY Washing Machine Repair
- Safety First: Unplug the washing machine from the power source before starting any repairs to avoid electric shock.
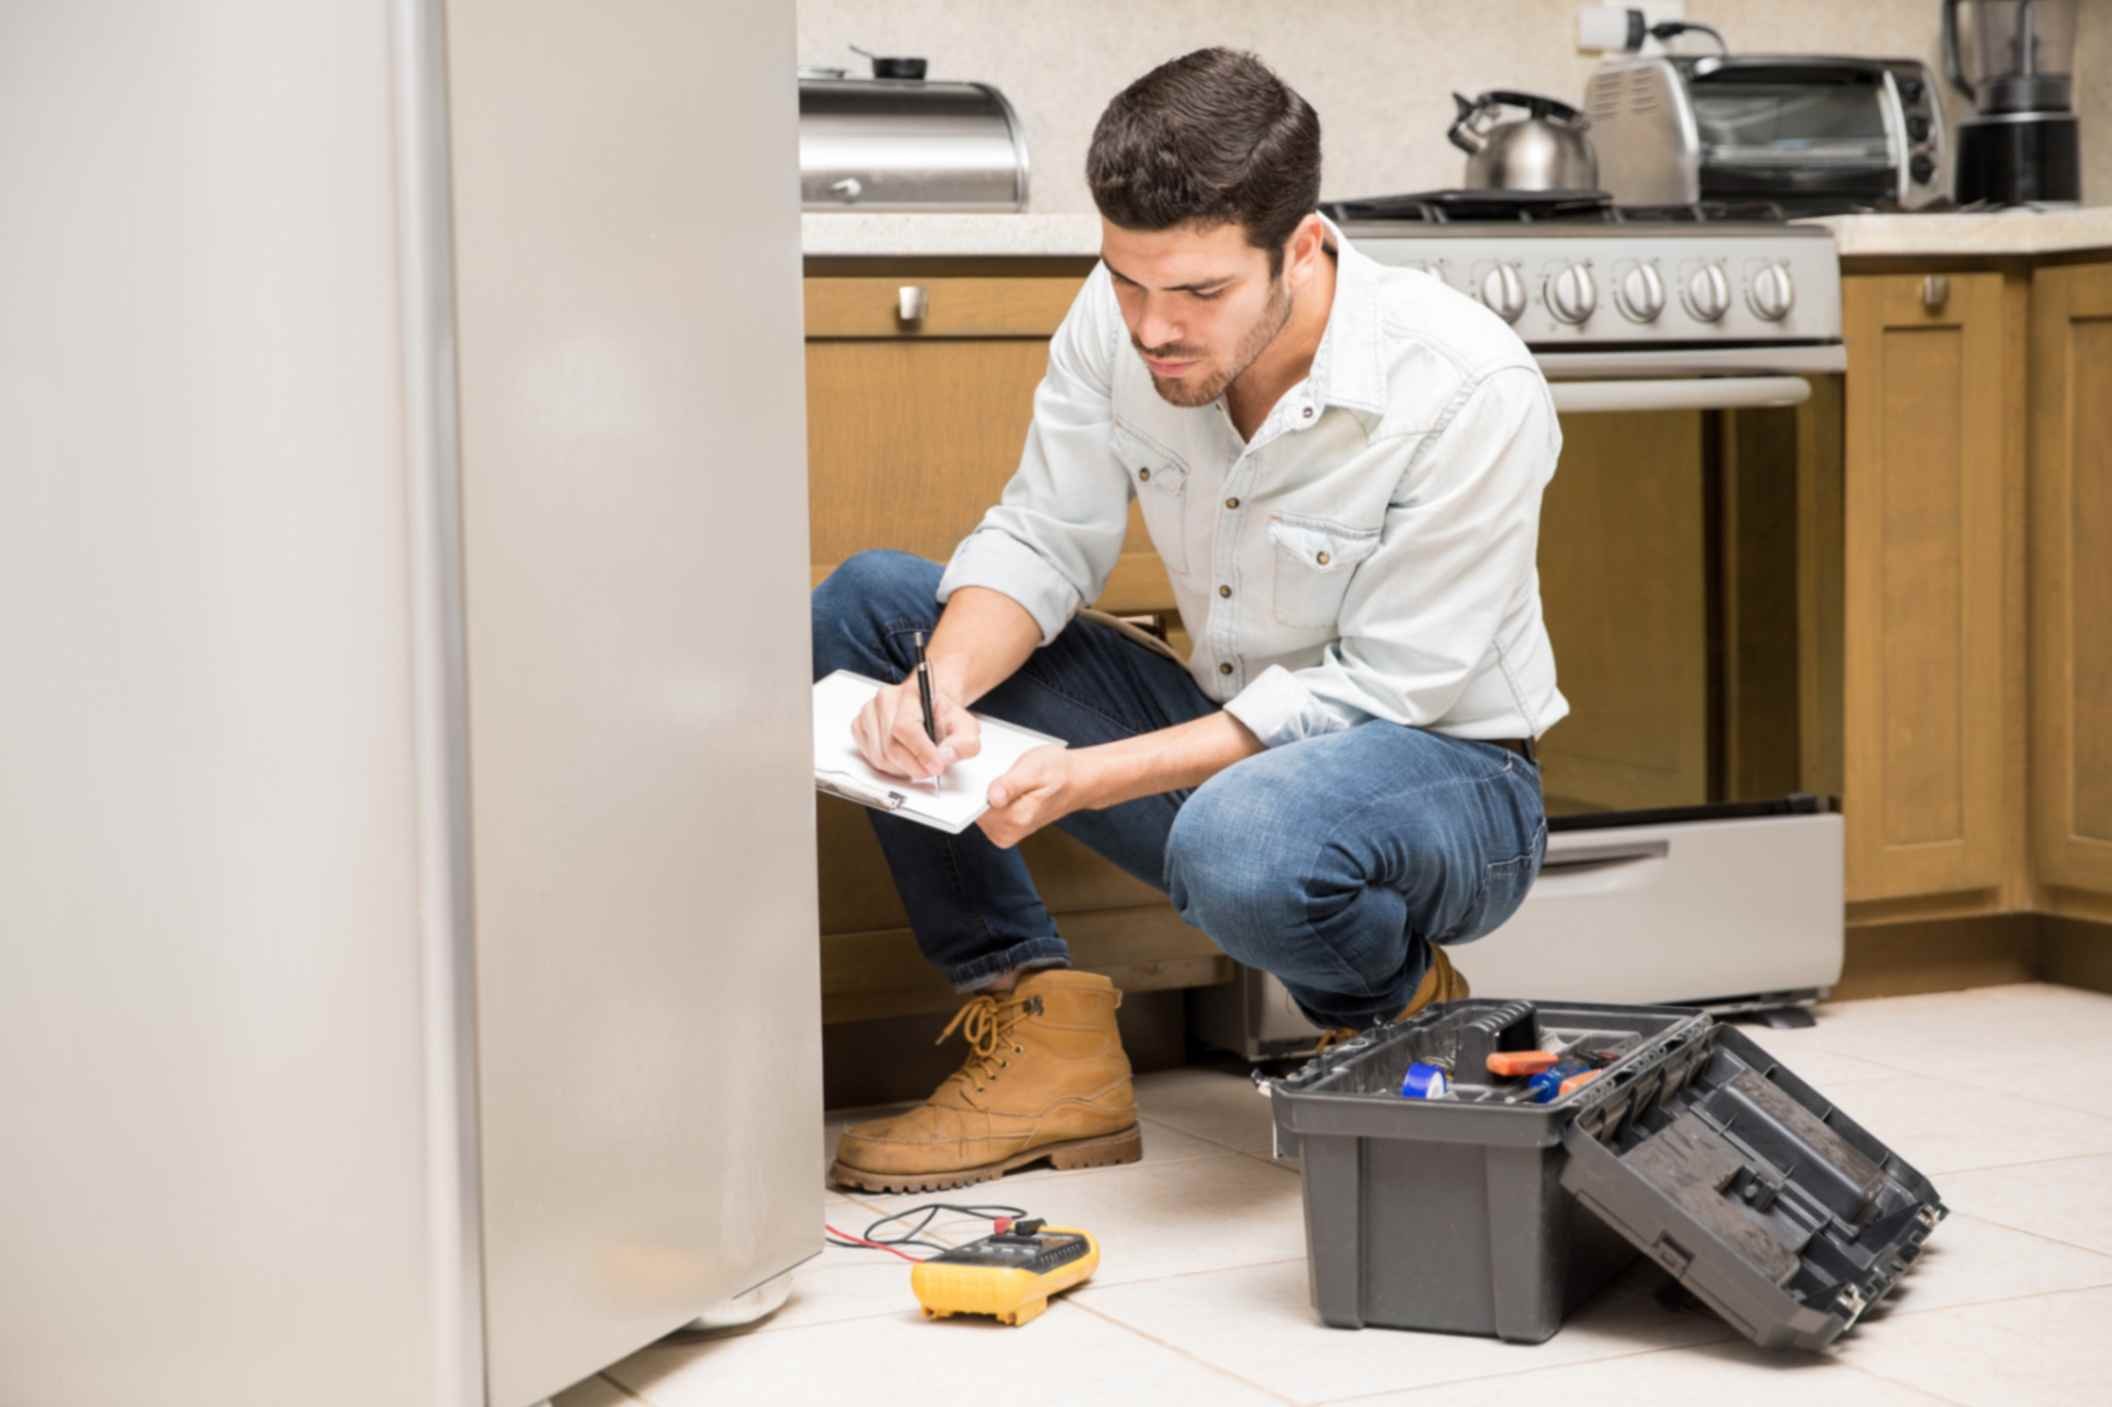
- Gather Tools: Have basic tools on hand such as screwdrivers, pliers, wrenches, and a multimeter for testing electrical components.
- Refer to Manual: Consult your washing machine's user manual for specific instructions and diagrams.
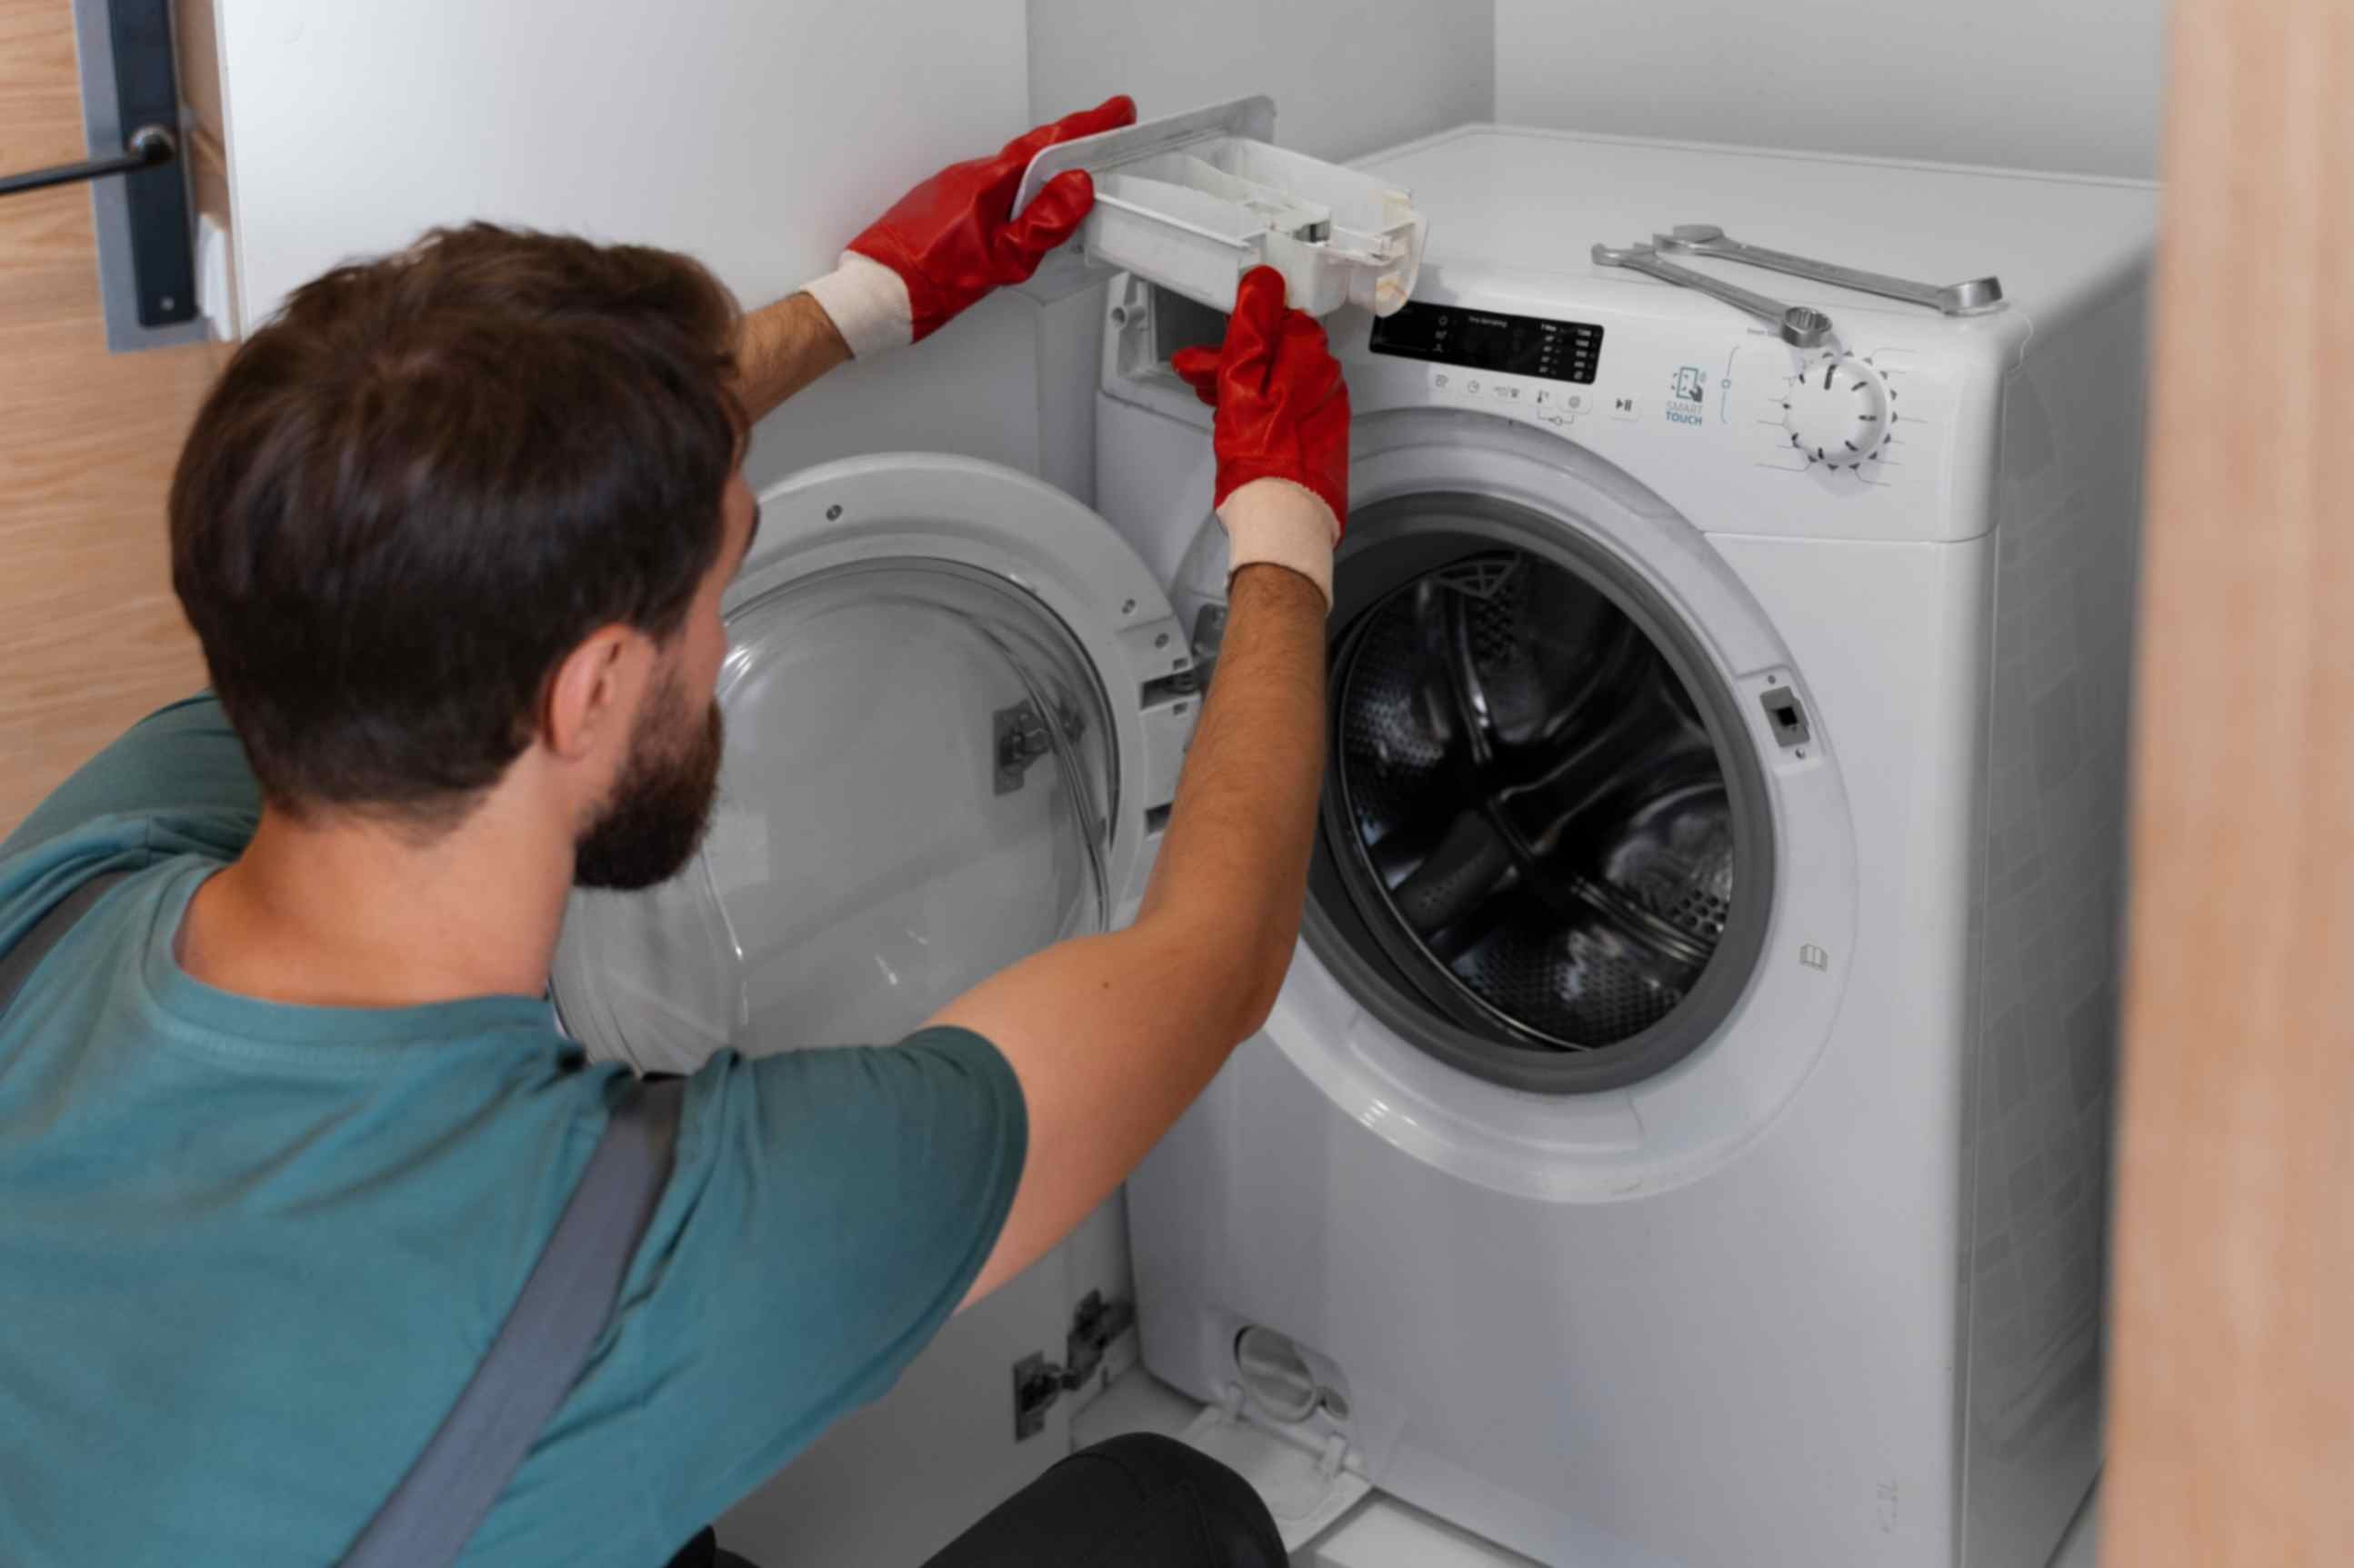
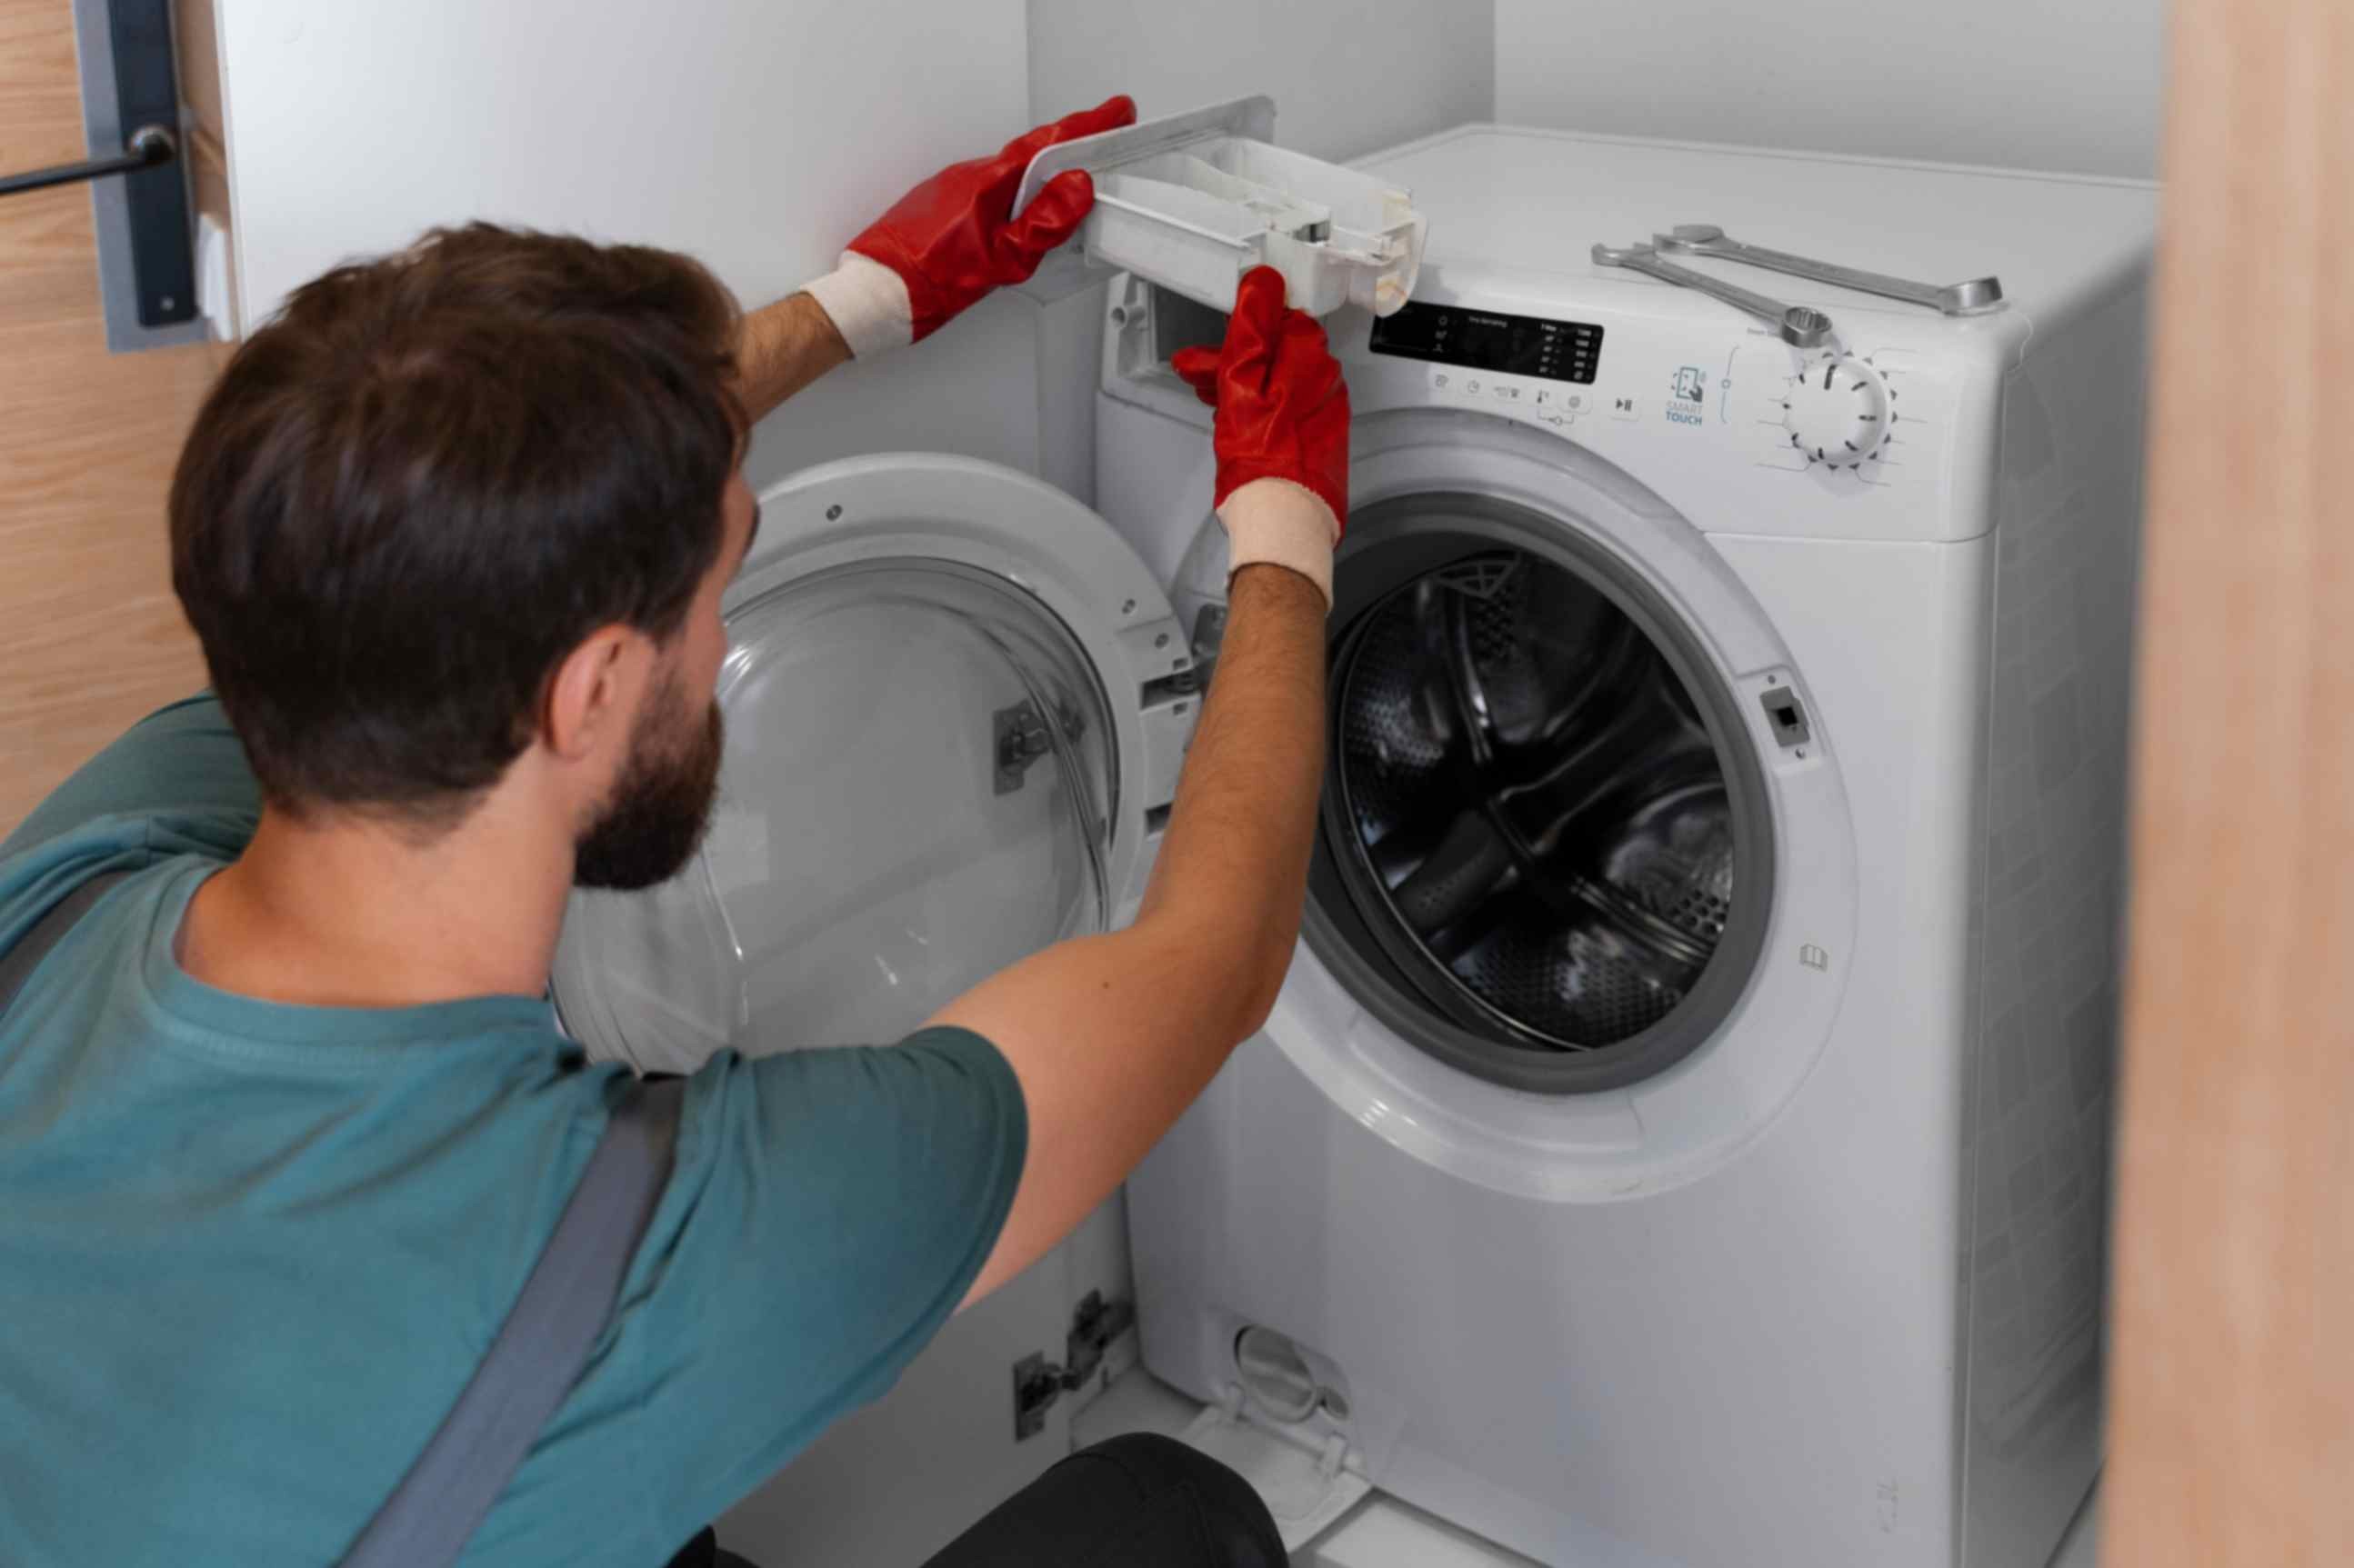
- Accessing Components: Remove the machine's front or rear panel to access internal components. Refer to the manual for panel removal instructions.
- Component Testing: Use a multimeter to test electrical components such as switches, timers, motors, and solenoids for continuity or proper voltage.
- Replacing Parts: Replace faulty components with new ones. Be sure to disconnect wires carefully and follow proper installation procedures.
- Adjustments and Maintenance: Tighten loose components, lubricate moving parts, and clean filters regularly to prevent future problems.
- Reassembly: Once repairs are complete, reassemble the machine carefully, ensuring all components are properly installed and secured.
- Testing: Plug in the machine and run a test cycle to ensure repairs were successful and that the machine operates correctly.
- If you're unsure about performing repairs or troubleshooting steps.
- If the repair involves complex electrical or mechanical components.
- If the machine is still under warranty, attempting repairs yourself may void the warranty.
Before You Begin:
Repair Steps:
When to Seek Professional Help:


Leave A Comment
Your email address will not be published. Required fields are marked *